
Read The Docs for REST APIs Made Simple, Part 2
Read The Docs has become the defacto standard for technical documentation, particularly in the Python world. You write your document content in reStructured Text (RST) markdown with a simple text editor then build online ready documentation with the Sphinx compiler.
This article is Part 2 of a 2 part series which shows you how to use Read The Docs to create documentation for a REST API. Part 1 covered how to make a basic Sphinx document project. In Part 2, you will add content to your document for a ficticious API using some of the more sophisticated Sphinx directives.
Change the Document Theme
The base document you built looked nice enough, but was, well, a little plain. Before launching into the intricacies of Sphinx syntax, let’s change the theme to make it look a little more attractive.
If you go to the Sphinx themes site, you will see a large number of thmese to choose from. The default theme in the current version of your document is alabaster. It’s entirley up to you, and I encourage you to experiment with themes, but the one I like is sphinx_rtd_theme, which is a popular Python documentation theme. Search for this theme, then click on the sample link to see what a document using the theme looks like. For the sample document you are building, I’m going to suggest you use sphinx_rtd_theme.
To change the document theme, install the new theme:
% cd starterdoc
% pipenv shell
(starterdoc) % pip install sphinx_rtd_theme
Open restdoc/source/conf.py in an editor, then add these lines:
import os, sys
import sphinx_rtd_theme

pygments_stype = 'sphinx'
html_theme = 'sphinx_rtd_theme'
html_theme_path = [sphinx_rtd_theme.get_html_theme_path()]
The pygments_style variable determines the syntax highlighting for code blocks. In this case, sphinx pygments set a light green background, which is a classic look for code blocks with documents that use the sphinx_rtd_theme theme.
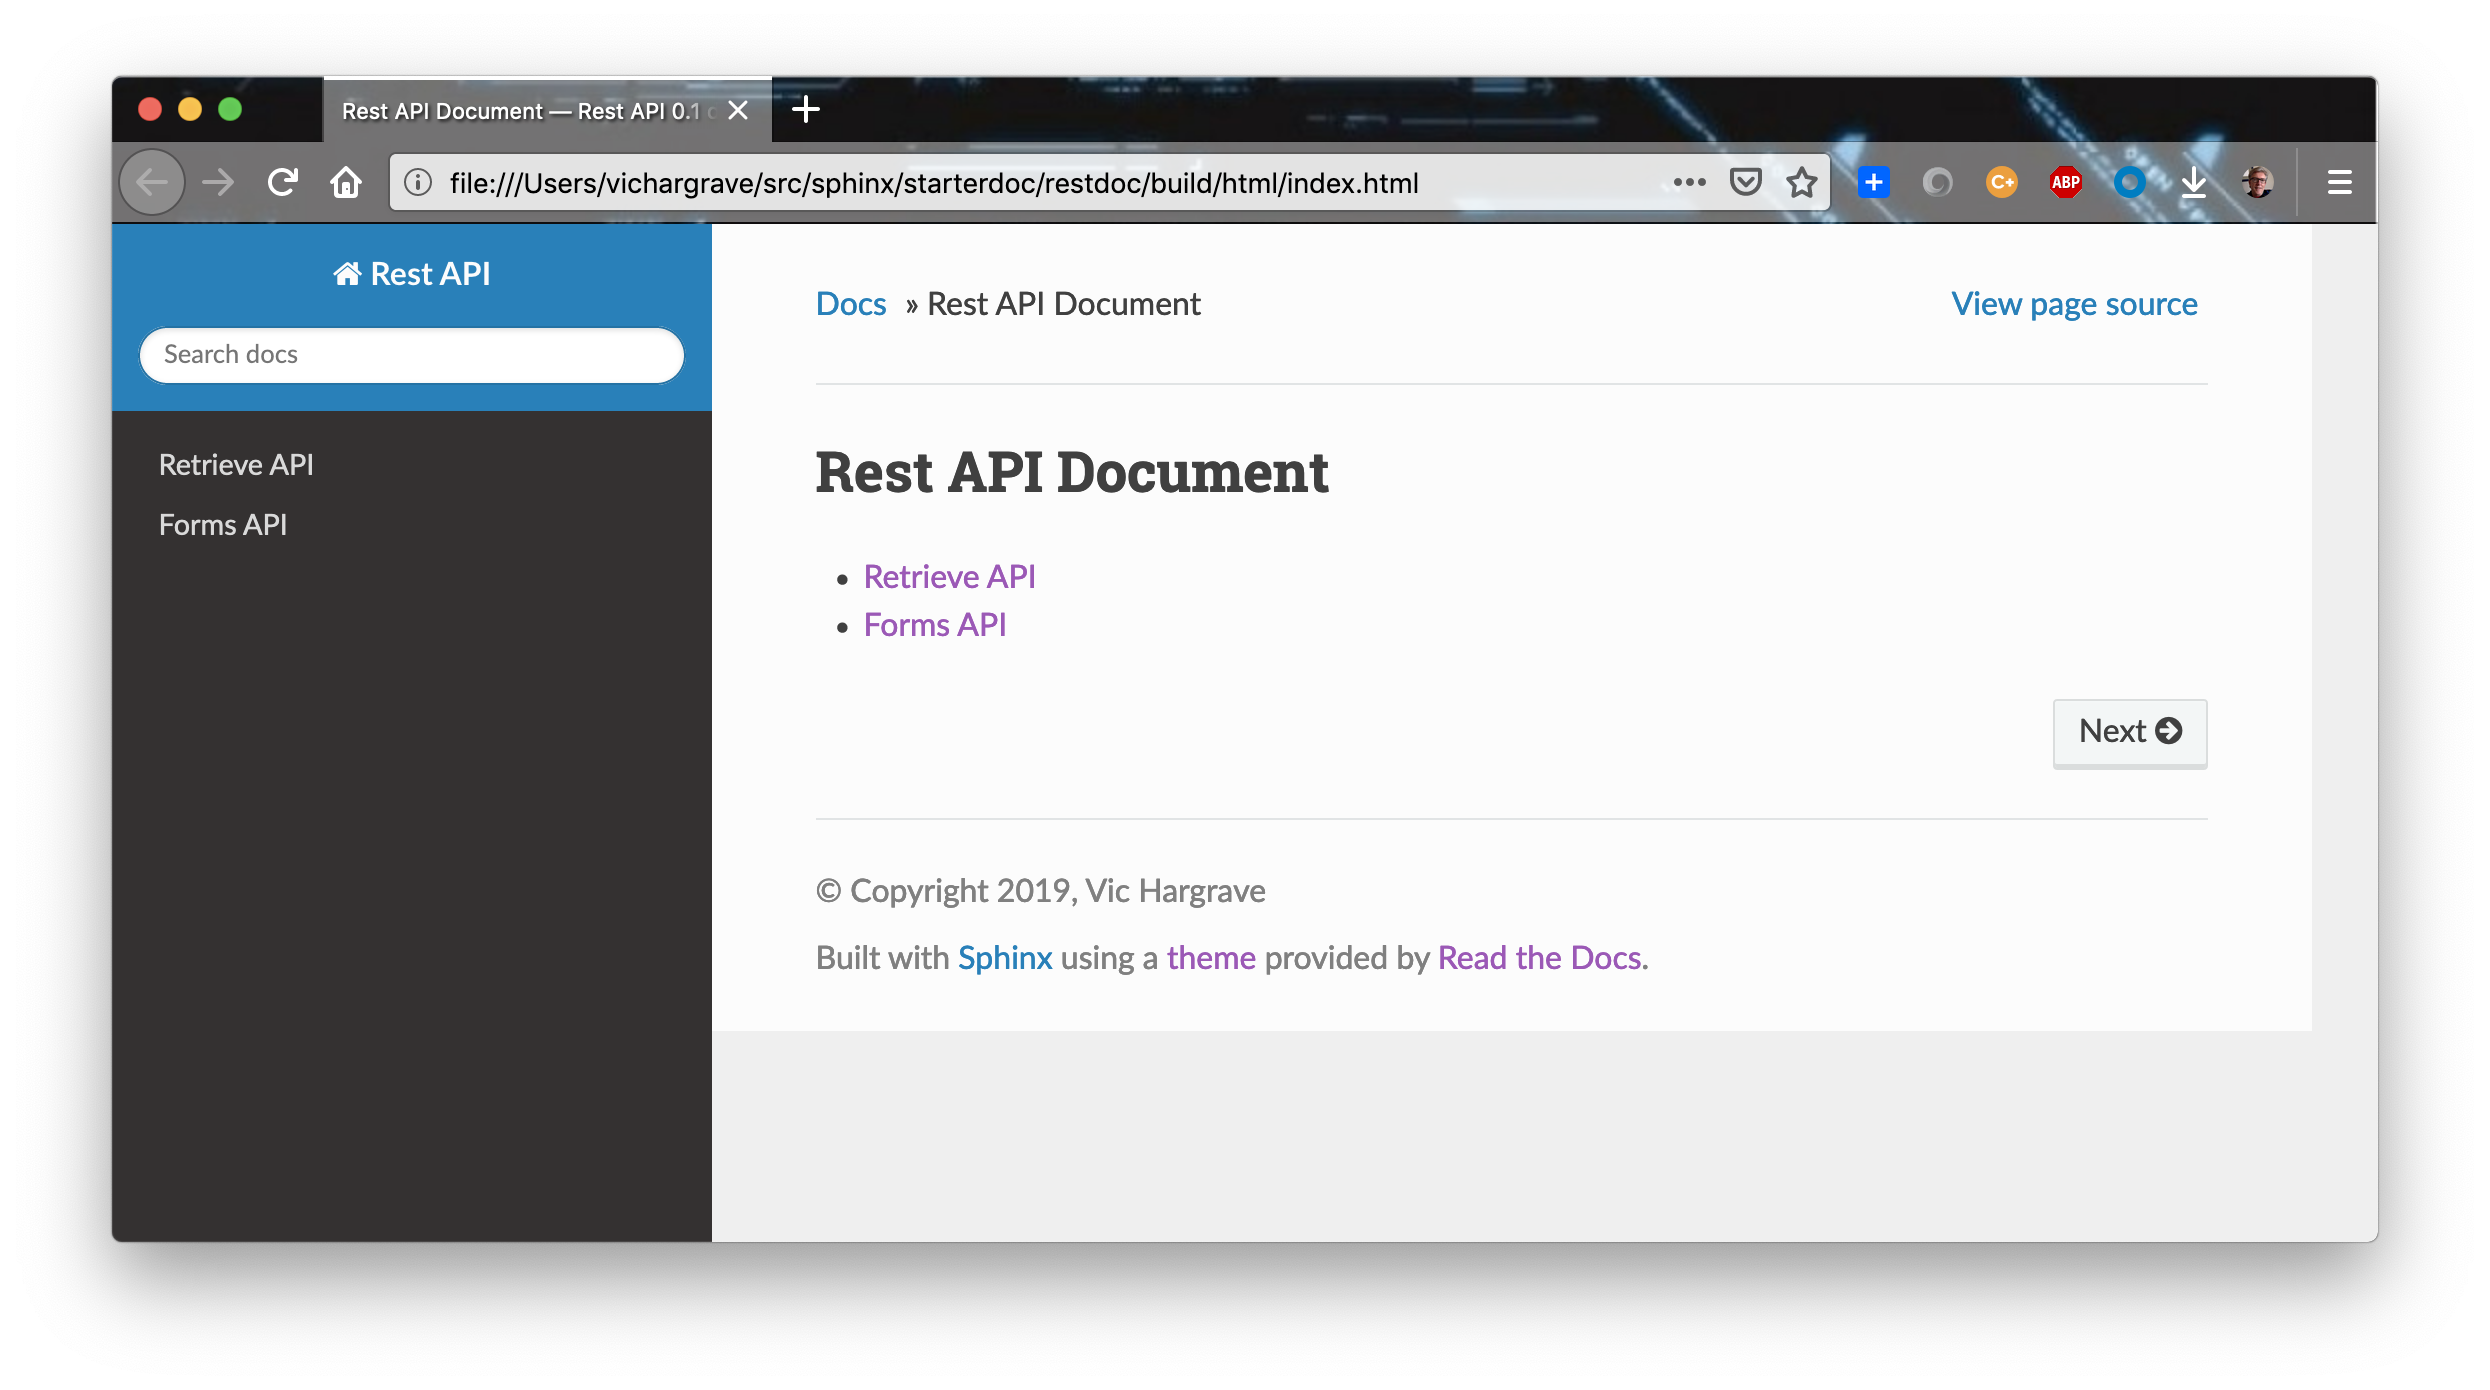
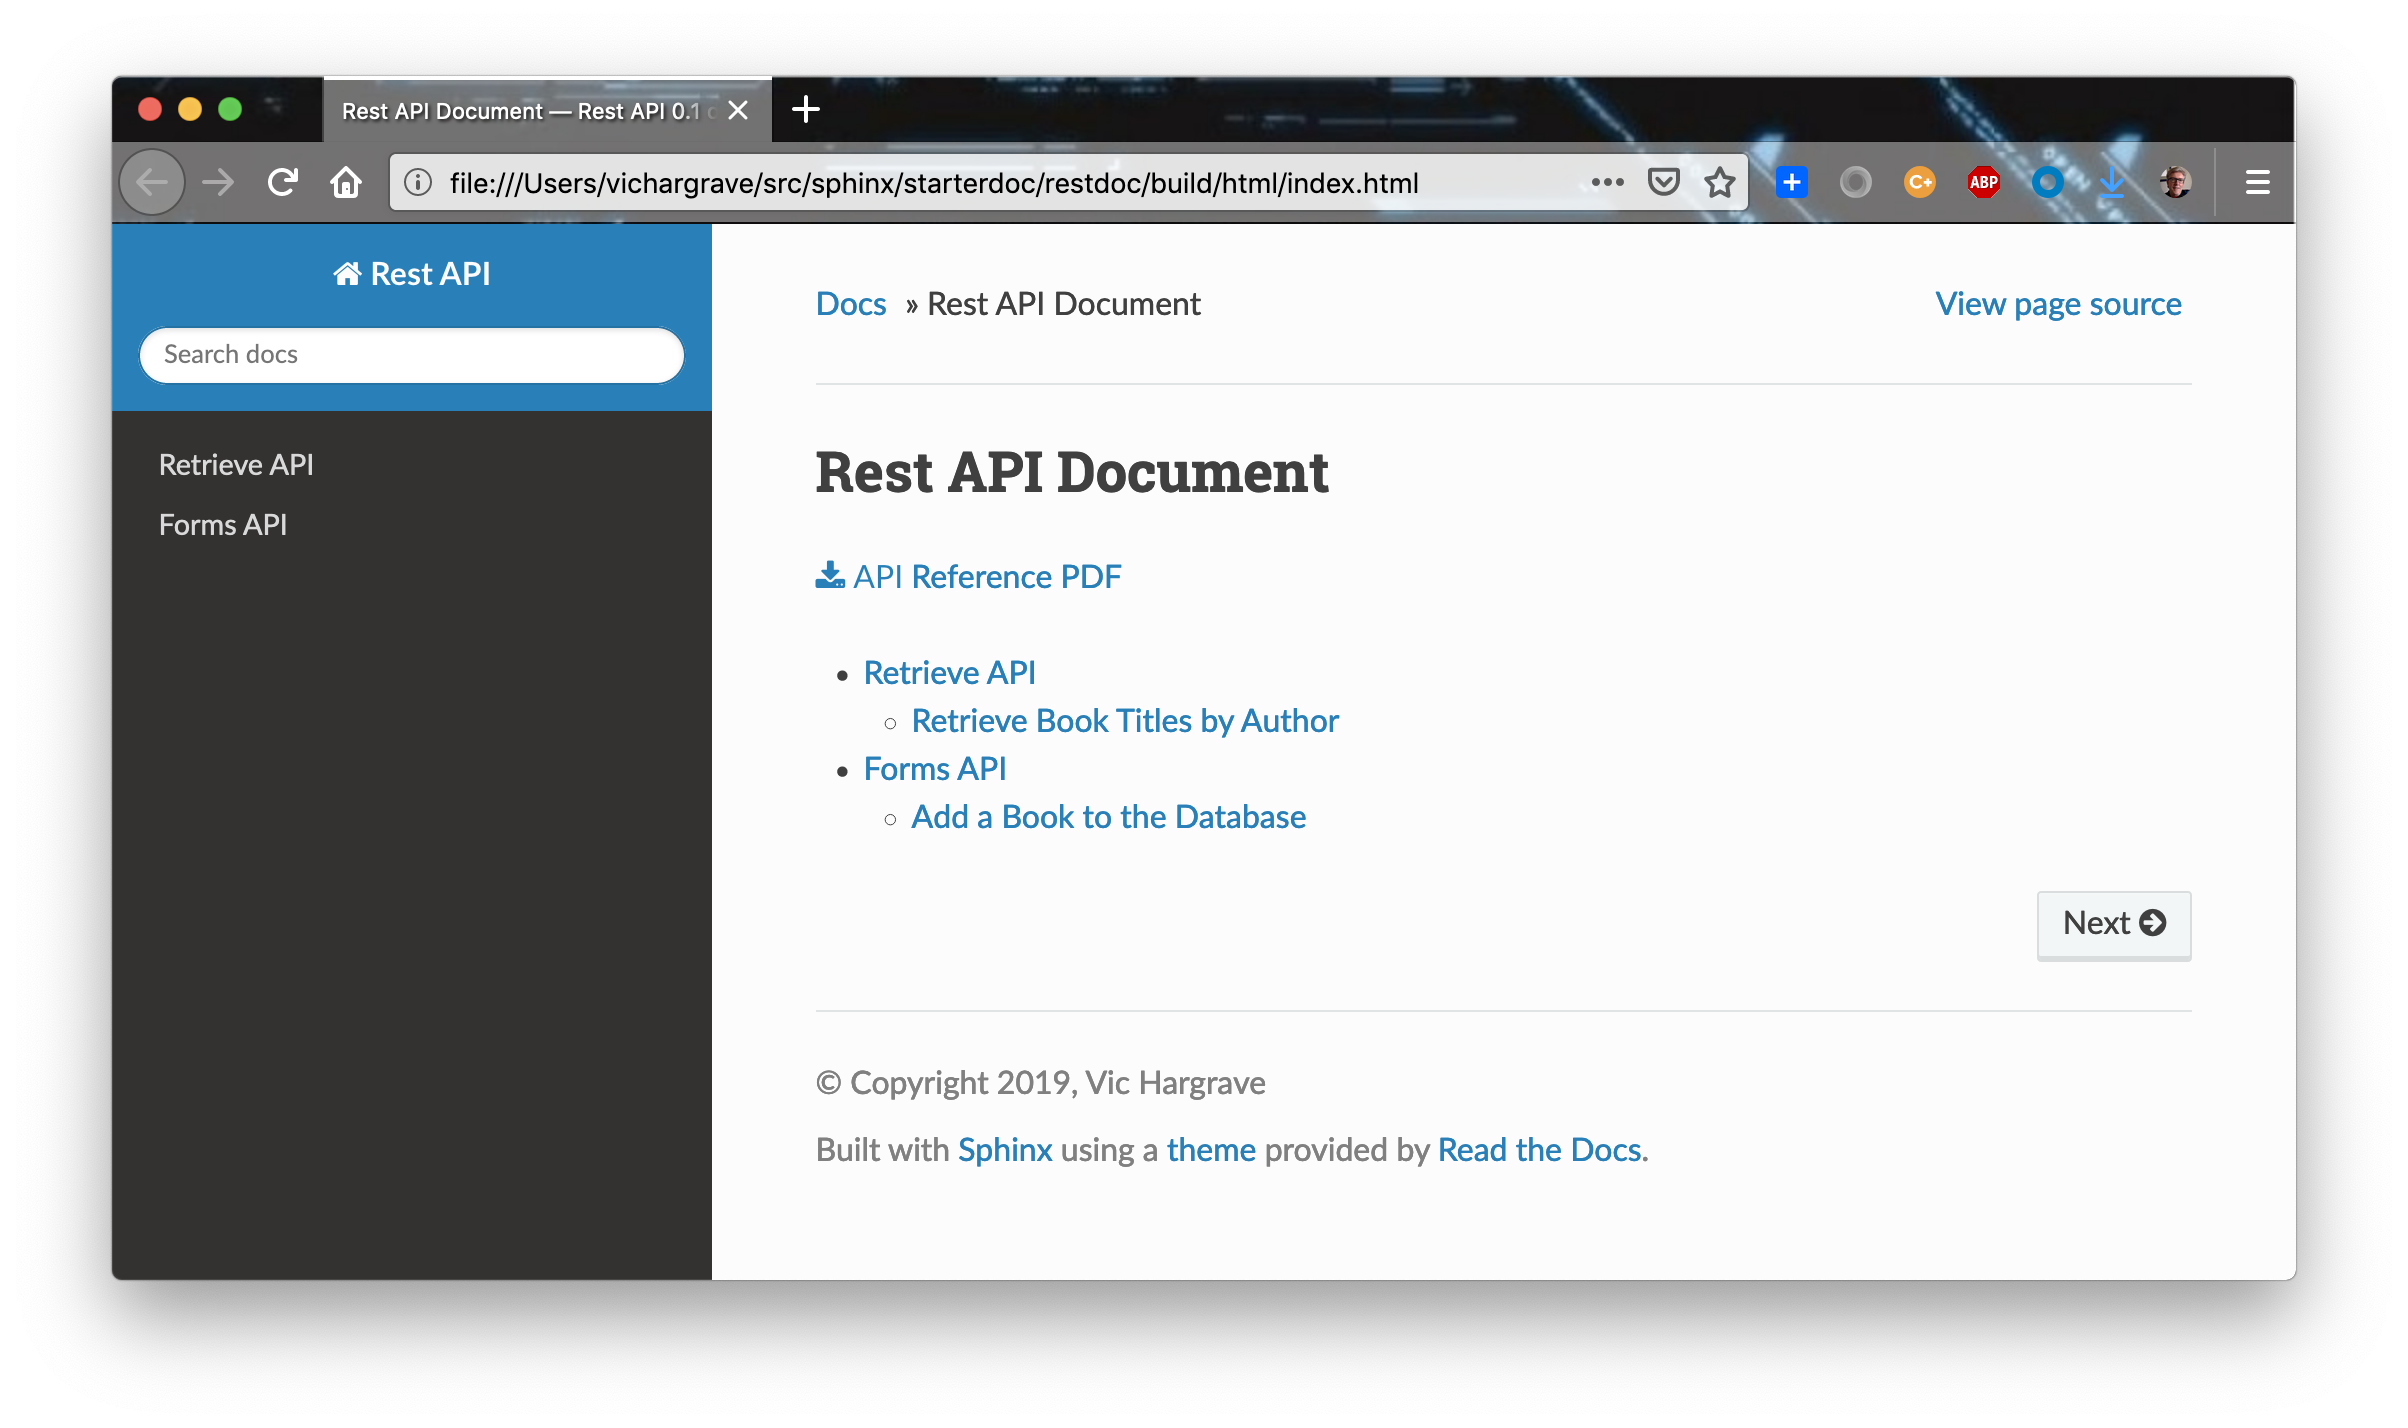
Build the document then open it in your default browser to see how your document looks.
(starterdoc) % make clean html
(starterdoc) % open build/html/index.html
Your document should now look like this:
Install and Configure HTTP API Markdown
The sphinxcontrib-httpdomain module provides that markup that you will use to highlight the API calls and parameters. Install the module from the top level of your starterdoc directory:
(starterdoc) % pip install sphinxcontrib-httpdomainTo activate the sphinxcontrib-httpdomain module, open restdoc/source/conf.py in an editor and update the extensions[] list to look like this:
extensions = ['sphinx.ext.autodoc','sphinxcontrib-httpdomain']Sphinx HTTP API Markdown
Page Titles and Sections
Page titles are created by underlining a title text string with a series of = characters. For example, if the title of your page is Retrieve API, the page title markdown is:
Retrieve API
============
Sections are like titles, except a section text string is followed by a line containing dashes -. Let’s say one of the retrieve API calls that will be added to your document is designed to retrifve all book titles from a database, the a title like this could be added:
Get All Book Titles
-------------------
When you build your document, Sphinx will automatically add the page title and sections to the document table contents.
Notations
On certain occassions you may want to draw attention to certain points in a document. Sphinx supports markdown to create the following types of notations.
- note - basic note or reminder
.. note::
   Many English words aren't spelled the way they sound.
- important - a note that underlines a particularly important point
.. important::
   Dictionaries can help you spell words, but you need to know the first one or two characters of the word you want to look up.
- warning - note that indicates what happens if a certain point is not followed
.. warning::
   Failing to dot your **i**s and cross your **t**s, makes the words you write difficult to read.
- tip - note that advises the reader regarding a best practice
.. tip::
When spelling a word, **i** usually comes before **e** except after **c**. 
You’ll notice that the text following the notation markown is indentend 4 spaces. Like Python, Sphinx uses indentation to denote code blocks. Failure to indent a block prevents the markdown from applying the proper styling leaving just the raw markdown text.
HTTP Requests
The sphinxcontrib-httpdomain module installed earlier, adds markdown to Sphinx that enables you to clearly present HTTP requests. The API markdown format is:
.. http:{request method}:: {API URL Path}
   :noindex:

     {API Description}

   :query {data type}: {optional parmeter explantation}

   :form {data type}: {optional parmeter explantation

   :requestheader {header MIME type}:
http:{request method}- Identifies an HTTP API block. Set{request method}to one of the HTTP methods (in lowercase): get, head, post, put, delete, connect, options, trace, or path.{API URL Path}- The part of the API URL that follows the domain part of the URL. For example, if the API URL ishttps://mycompany.com/get/item/1225533, the{API URL Path}would beget/item/122553.:noindex:- Prevents the HTTP method from being indexed when creating a PDF version if your document. More will be said about PDF documents in part 3 of this series.{API Description}- Description of what this operation this API does. The description must indented at least two spaces so it will be displayed properly in the PDF version of your document.:query {data type}:- Parameter in the API URL path.:form {data type}:- Parameter in the body of an HTTP request.:requestheader {header MIME type}:- Request headers that must be included by the user of the API. For example:Content-Type: application/json
You will see what the pages look like that use this markdown when you add content to your document later.
Source Code
Source code markdown applies syntax coloring for code examples in your API documentation. The code can be either programming code or blocks of text fields of a particulary format, like JSON.
.. sourcecode:: {code type}

   {body of code}
One way to show how APIs workd is to use curl command examples. In this case, the {code type} would be bash and the {body of code} would be the complete curl command that implements the API.
Add Retrieve API Content
The APIs that you will document are based on a ficticious library database that provides a web service supporting two APIs. The first API retrieves books by author name. Copy and paste the RST content below to your retrieve.rst file. The example response consists of a list of books in JSON format.
1
2
3
4
5
6
7
8
9
10
11
12
13
14
15
16
17
18
19
20
21
22
23
24
25
26
27
28
29
30
31
32
33
34
35
36
37
38
39
40
41
42
43
44
45
46
47
48
49
50
51
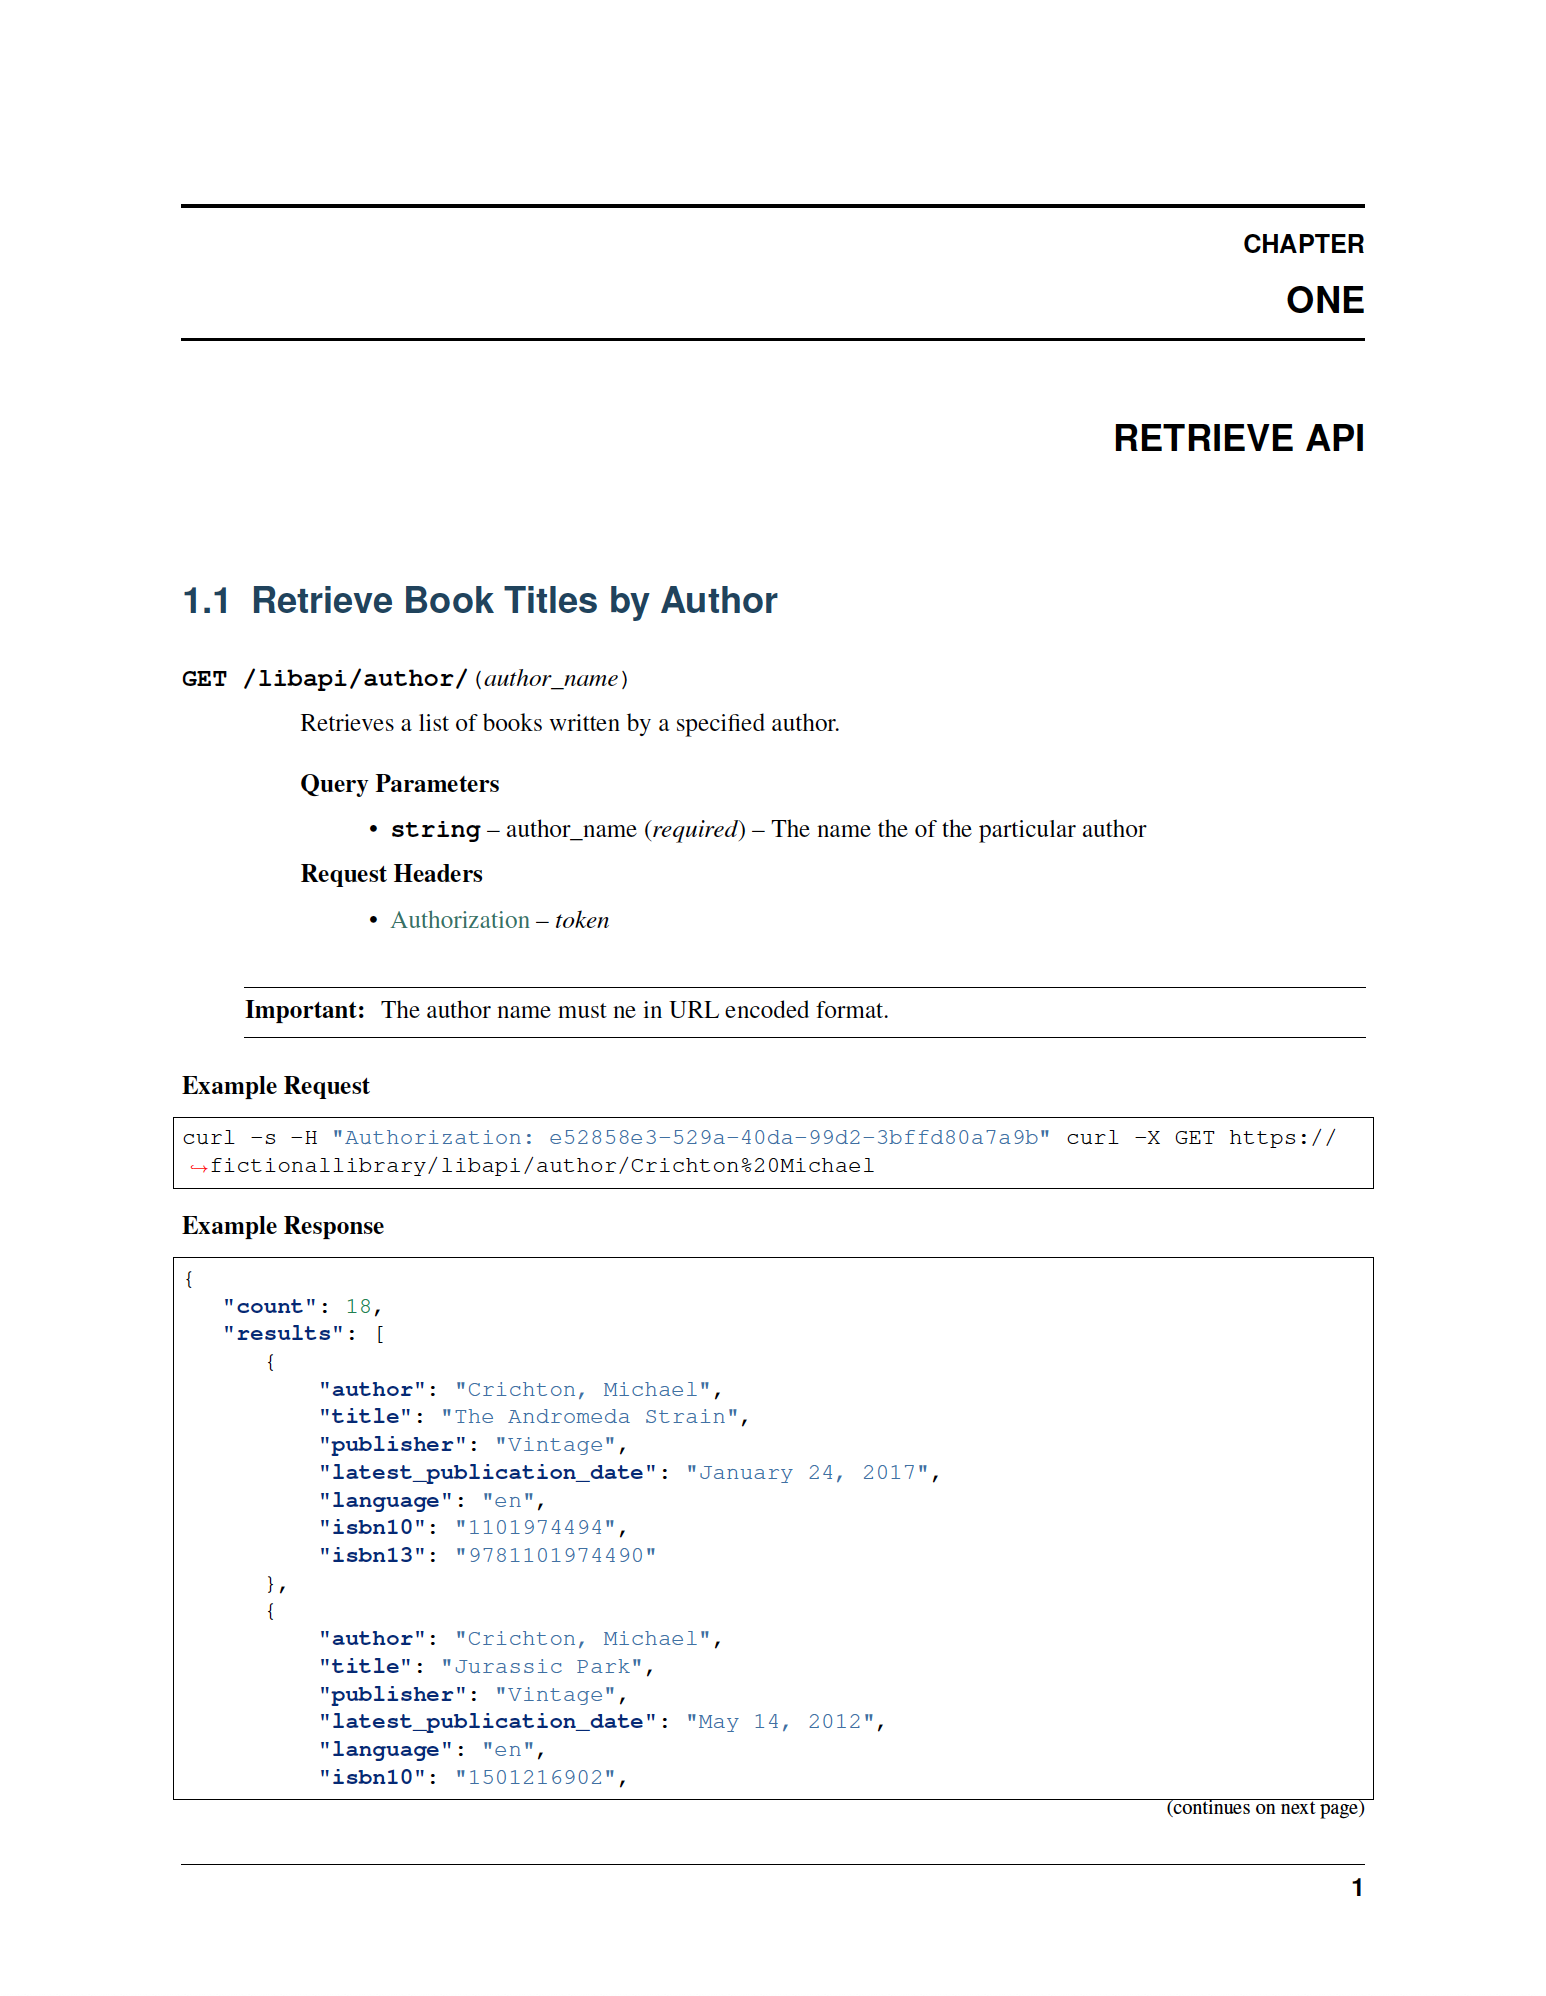
Retrieve Book Titles by Author
------------------------------
.. http:get:: /libapi/author/(author_name)
:noindex:
Retrieves a list of books written by a specified author.
:query string: author_name (*required*) -- The name the of the particular author
:requestheader Authorization: `token`
.. important::
The author name must be in URL encoded format.
**Example Request**
.. sourcecode:: bash
curl -s -H "Authorization: e52858e3-529a-40da-99d2-3bffd80a7a9b" curl -X GET https://fictionallibrary.com/libapi/author/Crichton%20Michael
**Example Response**
.. sourcecode:: json
{
"count": 17,
"results": [
{
"author": "Crichton, Michael",
"title": "The Andromeda Strain",
"publisher": "Vintage",
"latest_publication_date": "January 24, 2017",
"language": "en",
"isbn10": "1101974494",
"isbn13": "9781101974490"
},
{
"author": "Crichton, Michael",
"title": "Jurassic Park",
"publisher": "Vintage",
"latest_publication_date": "May 14, 2012",
"language": "en",
"isbn10": "1501216902",
"isbn13": "9781501216909"
},
{
"author": "..."
},
]
}
Notice that the API description in line 7 is indented 2 more spaces than the other markdown. As it turns, out this is necessary to make sure the description is indented so it aligns with other API text when the document is rendered in PDF format. Building PDF documents will b discussed later in this article.
Rebuild the document, by running make clean html in the restdoc directory – refer to the directory structure from Part 1 – then open your document in a browser. The Retrieve API page will look like this:
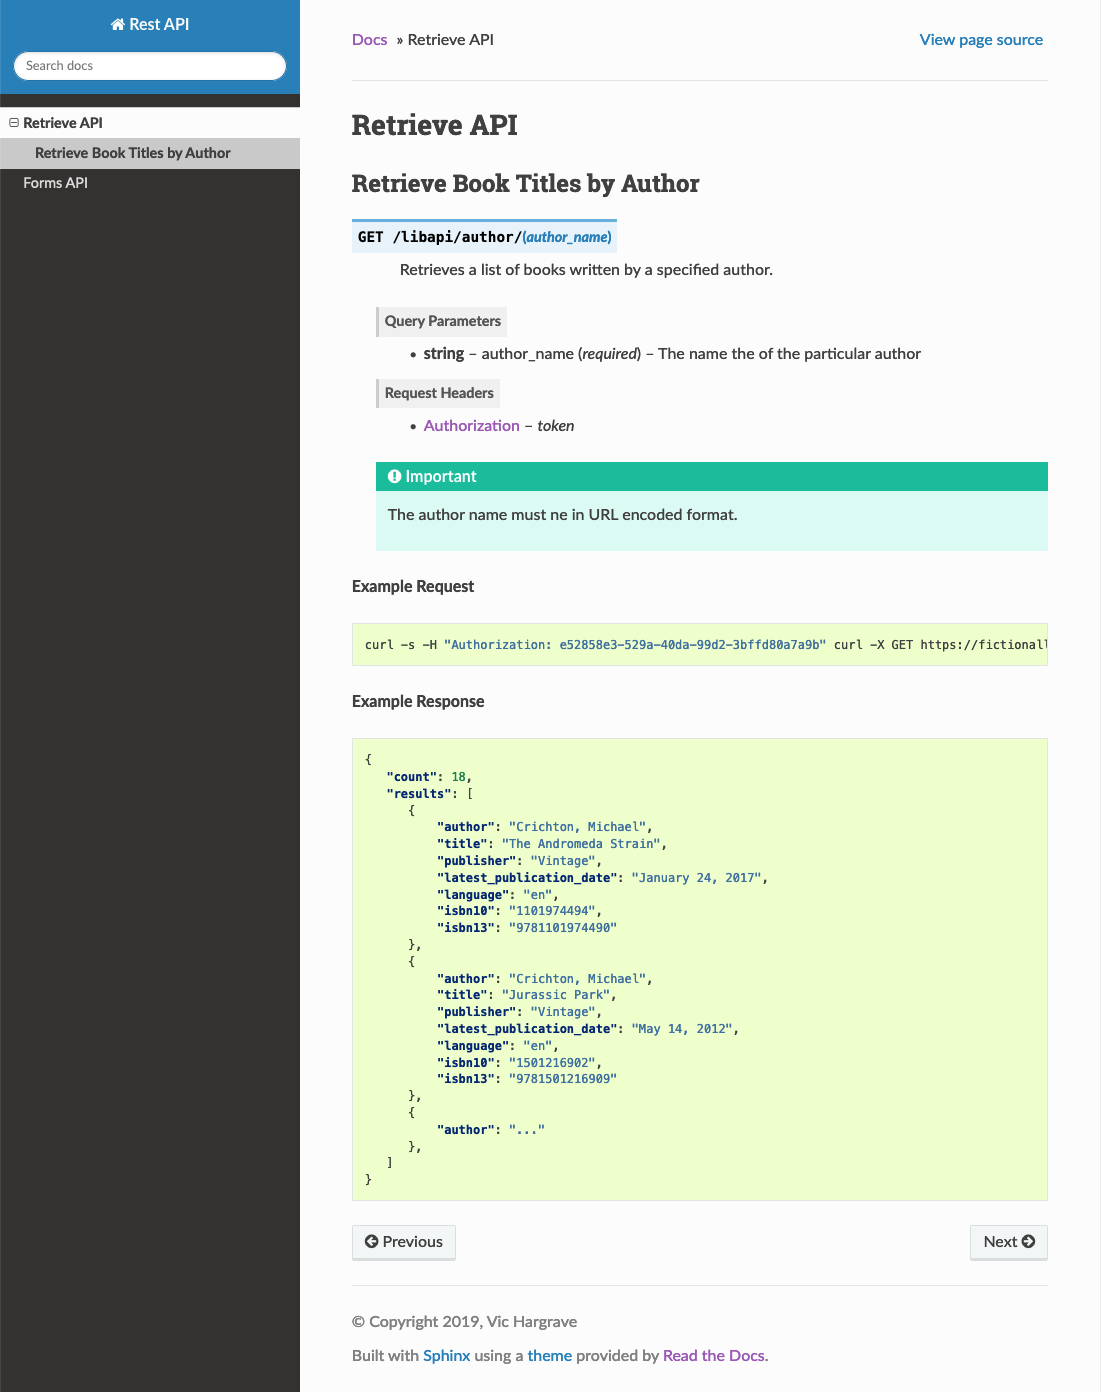
Notice how the API markdown has automatically highlighted and formatted the GET request, parameters, and header. Also, the example request and response text are syntax highlighted and styled.
Add Forms API Content
The second API example adds a book to the library database. This API uses an HTTP POST request to send the book information, expressed in JSON format, to the web service. Again, copy the markdown text in this block and paste it into the forms.rst file.
1
2
3
4
5
6
7
8
9
10
11
12
13
14
15
16
17
18
19
20
21
22
23
24
25
26
27
28
29
30
31
Add a Book to the Database
--------------------------

.. http:post:: /libapi/book
   :noindex:

     Add a book written by a specified author.

   :form string: author (*required*) -- The name the of the author of the book
   :form string: title (*required*) -- Title of the book
   :form string: publisher (*optional*) -- Publisher of the book
   :form string: latest_publication_date (*optional*) -- Most recent publication date
   :form string: language (*optional*) -- Language used in the writing of the book
   :form string: isbn10 (*required*) -- ISBN 10 number of the book
   :form string: isbn13 (*optional*) -- ISBN 13 number of the book

   :requestheader Authorization: `token`

**Example Request**

.. sourcecode:: bash

   curl -s -H "Authorization: e52858e3-529a-40da-99d2-3bffd80a7a9b" curl -X GET https://fictionallibrary.com/libapi/book -d '{"author":"Crichton, Michael", "title":"Timeline", "publisher":"Ballantine Books;", latest_publication_date":"November 4, 2003", "language":"en", "isbn10":"034553901X"}'

**Example Response**

.. sourcecode:: json

   {
       "result": "Timeline by Michael Crichton was added to the database"
   }
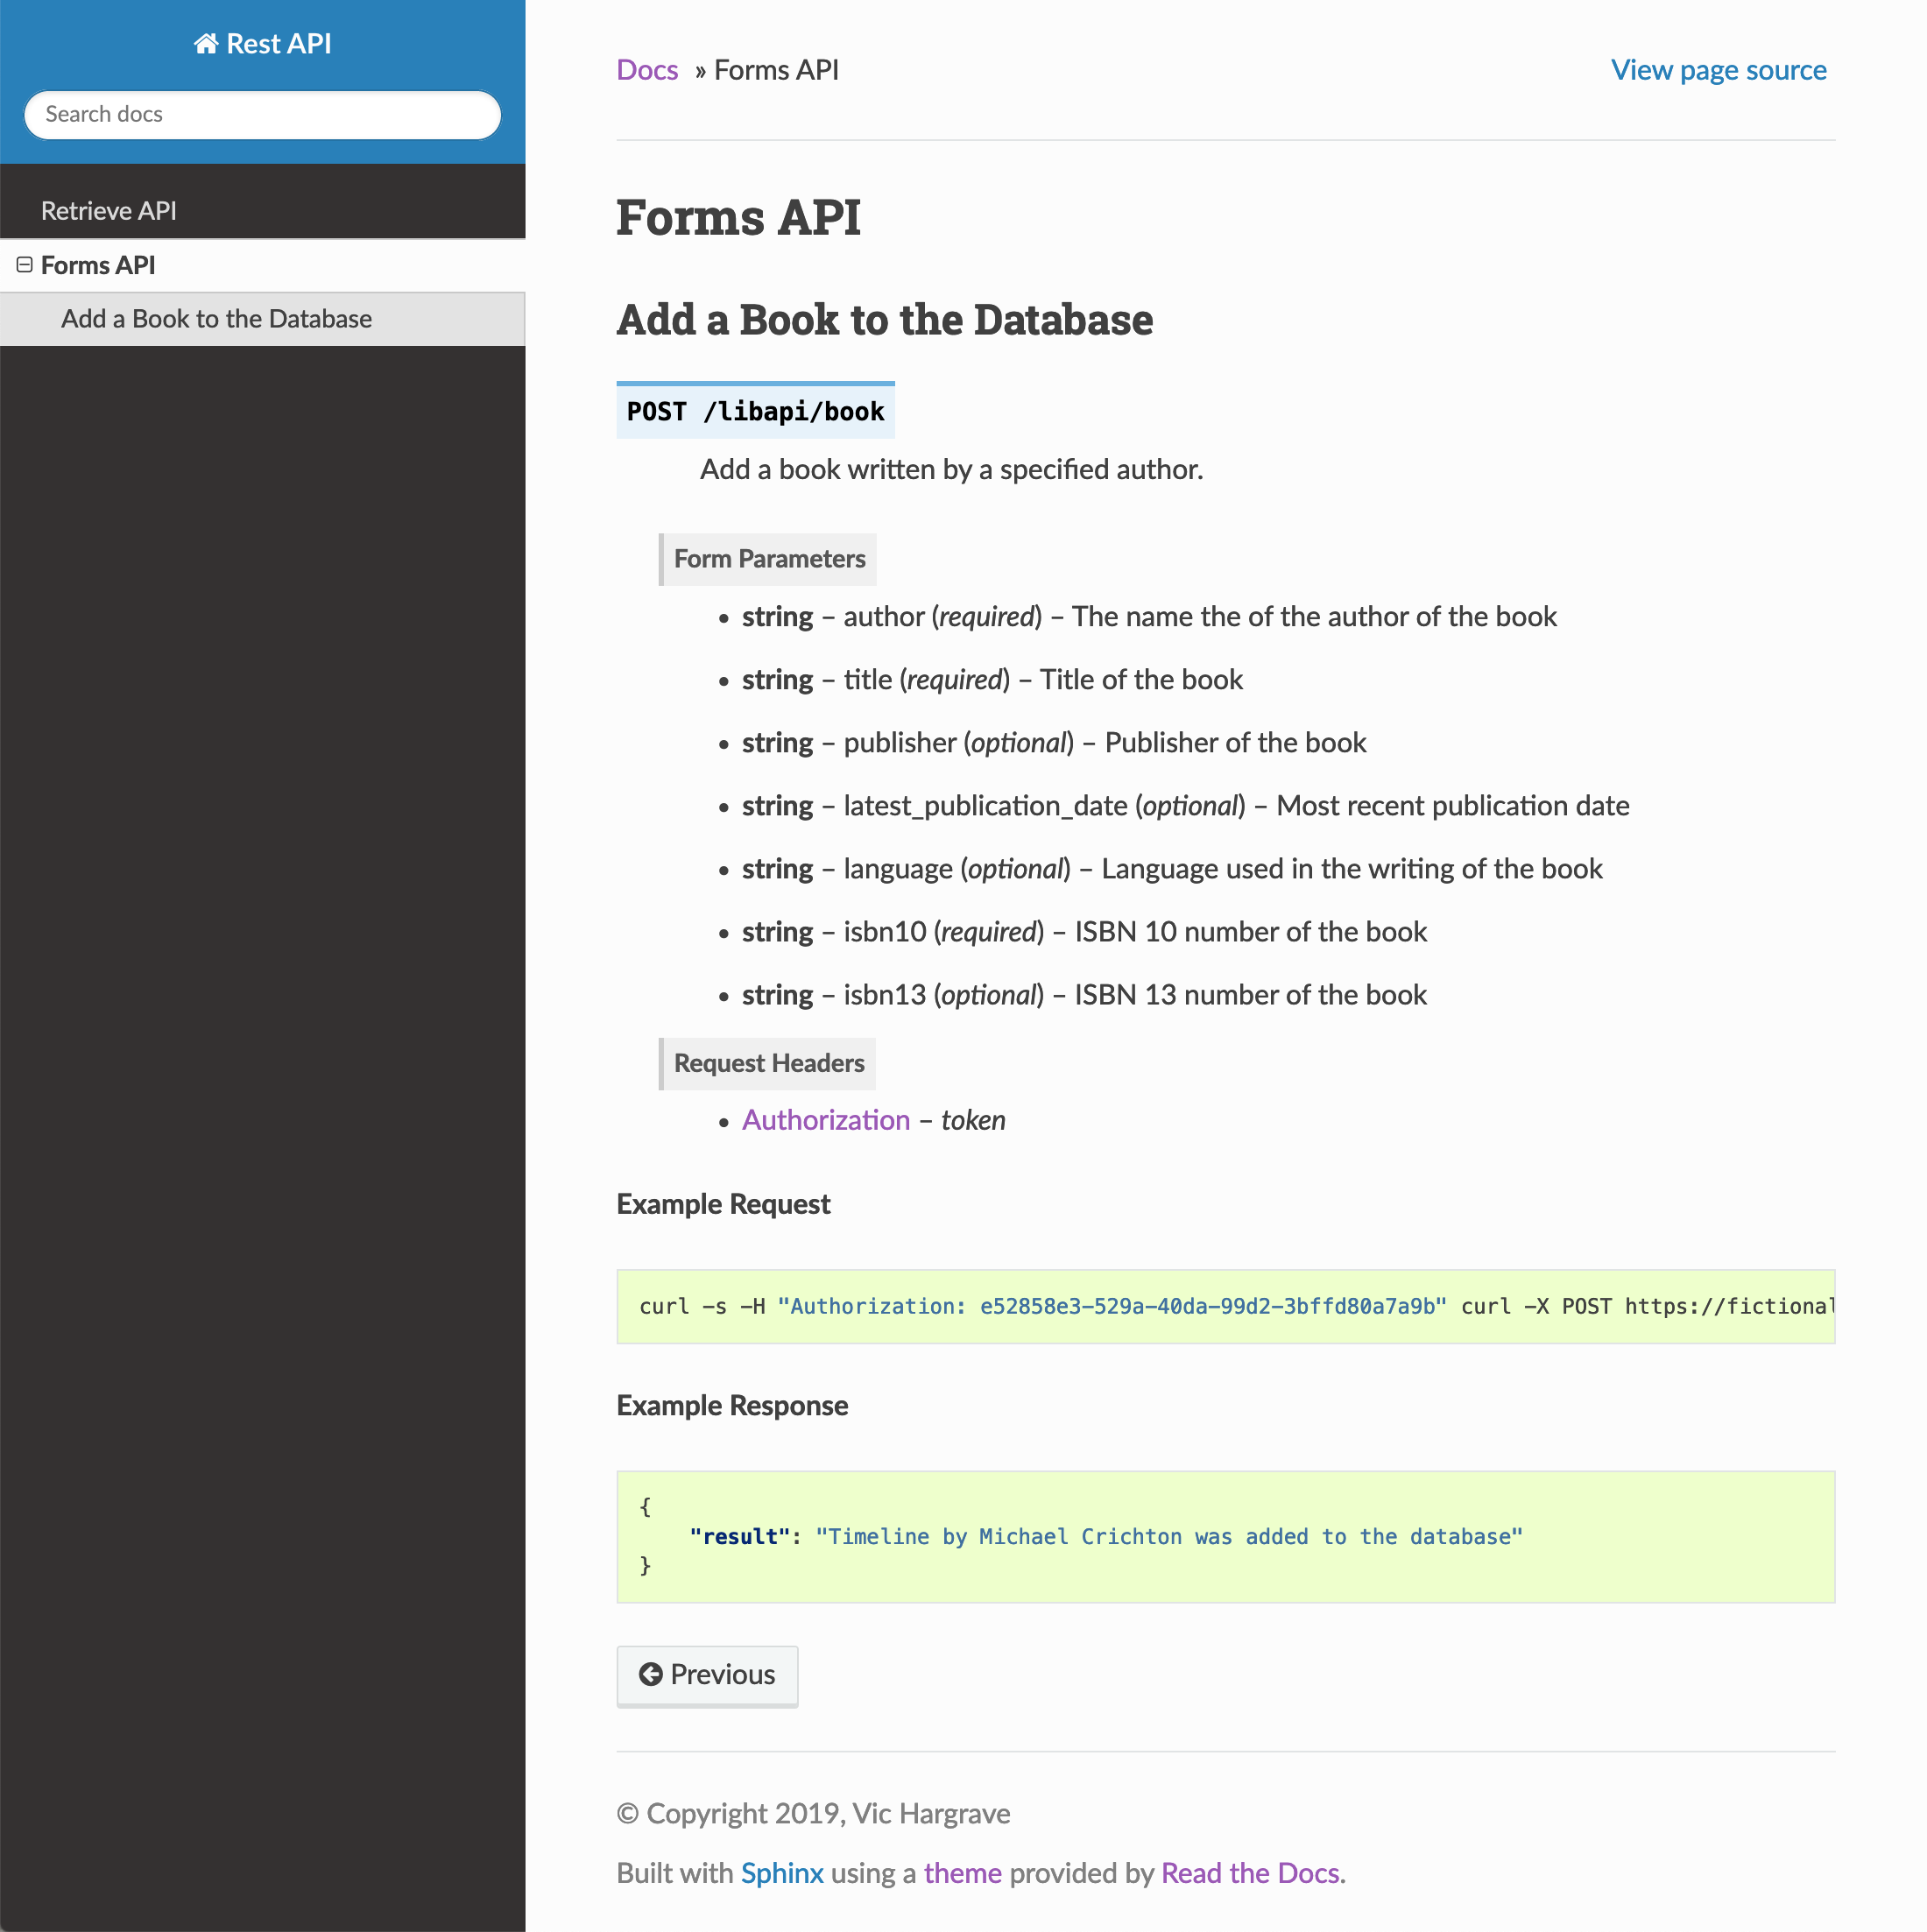
Rebuild the document again then open in a browser. The Forms API page will looks like this:
Generate PDF Documentation
With the help of some additional tools, Sphinx can also produce a PDF version of your document without having to edit any of the source RST files. Sphinx does not build PDF documents directly. Instead it outputs TeX formated files that are converted to PDF with the latexmk application that is part of the LaTeX typesetting system.
The LaTeX Project provides links to LaTeX distributions for Linux, Mac OS, and Windows platforms. For this article I’ll cover installtion for the Mac OS and Ubuntu platforms, since those are the systems I use most often for my work.
Mac OS Install
To install LaTeX for the Mac OS:
- Go to the MacTeX
- Click on the download the MacTeX download link.
- Click on the MacTeX.pkg link.
- Double click mactex package you donloaded to finish the installation.
Ubuntu Install
On Ubuntu, use the apt-get to install LaTeX by running these commands:
- sudo apt-get install latexmk
- sudo apt-get install texlive-latex-base
- sudp apt-get install texlive-latex-extra
Configure LaTeX Builder
Open the source/copy.py file in an editor then add these lines:
latex_documents = [('index', 'apiref.tex', u'API Reference', u'Ficticious Library', 'manual'),]

latex_logo = 'Fictitious_Library_Logo.png'
The latex_log markdown is optional. Use it if you want to include a logo in your PDF document.
Build the PDF Document
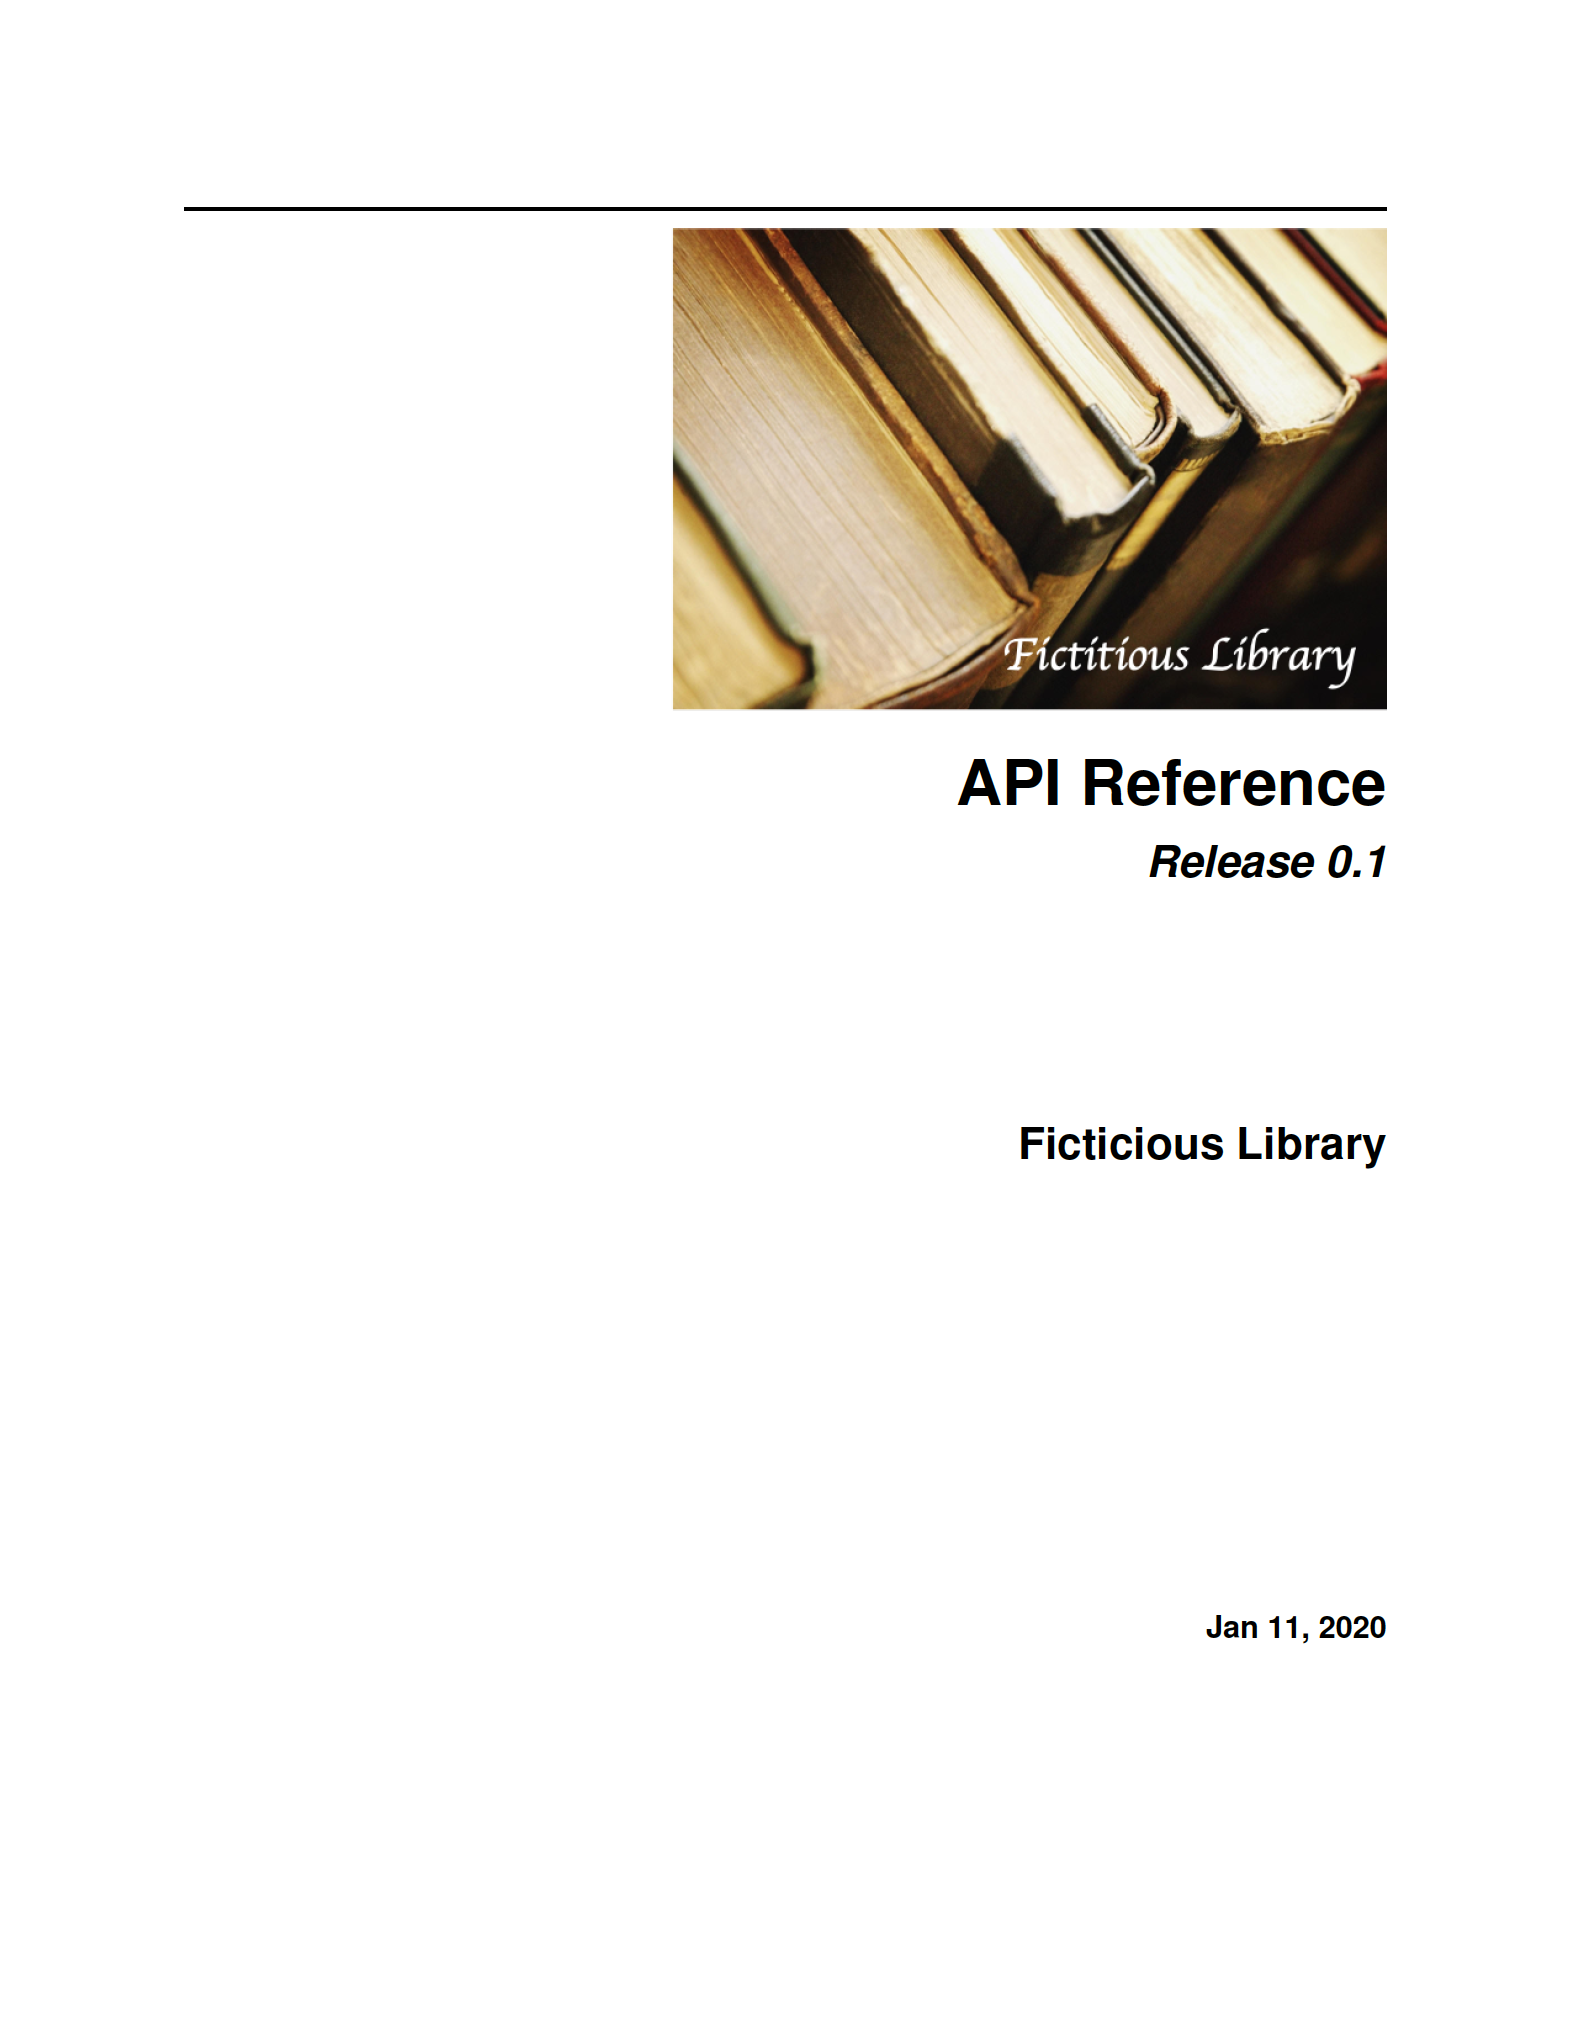
To build the PDF version of your document run make with the latexdf command. The PDF document will is placed in the build/latexpdf directory and is named apiref.pdf.
% make clean latexpdf
% open build/latexpdf/apiref.pdf
Here is the what cover of the PDF document looks like given the PDF settings and logo:
The LaTeX builder creates a nice looking table of contents, complete with links to the chapters and pages.

Finally, if you click on the link to the first chapter, you can see how the chapters and APIs are formatted.
Add a PDF Download Link
If you make a PDF version of your document, you may want to provide a way to download the PDF from one of the HTML pages. That’s easy to do with the :download: directive, which will add a download link to your document. A good place to add a PDF link is the table of contents in between the document title and the chapter items.
:download:`API Reference PDF<../build/latex/apiref.pdf>`The syntax for this markdown is a bit peculiar. Following the download markdown, the name of the link is enclosed in ` characters and the link to the PDF is denoted by <> braces. The path to the PDF version of the document is relative to the conf.py file in the source directory.
After placing the download link in the table of contents, build the PDF version of your document then the HTML version.
make clean latexpdf
make html
You should only make and clean when you build the PDF, not the HTML. If you clean at the HTML building stage, you will delete the PDF document. When both versions of the document are built the PDF will be copied to a downloads directory in the build/html folder. Here is the revised table of contents with the PDF link:
Summing UP
You now have a complete Read The Docs document describing an HTTP REST API. All you have to do to put the document online is to copy the contents of the build directory to a web server directory so it can open the build/html/index.html file. You can use your starterdoc project as base template for other documents you may want to write.


Leave a comment